Tally ERP 9 is the most commonly used accounting and business management software. It was the first-ever accounting software made in India.
Since its introduction, many changes are being made in its features to comply with the requirements of different businesses. As Tally ERP 9 is made keeping in mind the requirements of MSMEs in India, Tally has surpassed all expectations and has the ability to adapt to any business type. This has led to over 2 million Tally users today.
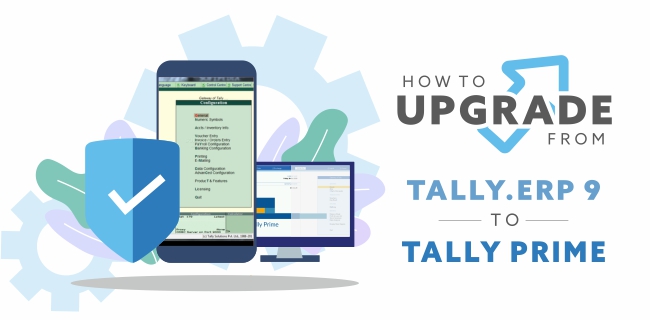
After more than three decades of Tally’s existence, the iconic green colour of the software, its single window navigation system and other user experiences has had a complete makeover. On 9th November, Tally Solutions has introduced Tally Prime, which is the most significant update since the beginning of Tally in 1986.
Just like Tally 7.2 was upgraded to Tally 9 then Tally.ERP 9 and now TallyPrime, here are some revolutionary changes introduced in TallyPrime,
- Changed appearance - you will no longer see green coloured Tally screens
- Revamped navigation system
- Enhanced User Experience
- Detailed reports at a blistering speed
And much more…
Checkout the what new TallyPrime will be offering here
Here’s how you can get TallyPrime today,
Valid TSS
This is the foremost requirement. Every Tally user with a valid TSS (Tally Software Service), is eligible to upgrade their Tally.ERP 9 to Tally Prime. You can check your TSS validity in the information section which is at the bottom of your Tally screen. You can get your TSS updated from your service provider.
Below are the steps to upgrade Tally ERP 9 to Tally Prime.
We always suggest our readers consult Tally service provider to update Tally.ERP 9.
If you still wish to update Tally on your own, follow these steps
-
Step 1
-
Step 2
Double click the setup file, the setup manager will open click on ‘Update’
-
Step 3
Once the update is completed successfully, Click on ‘Start TallyPrime’
-
Step 4
TallyPrime will start in License mode. Enter your username and password
-
Step 5
Now click on ‘Reactivate user license
-
Step 6
A dialog box will appear asking to restart in administrator mode. Click yes and restart your TallyPrime.
-
Step 7
Now enter your .Net ID and password.
-
Step 8
The ‘List of licenses’ screen appears, select the Tally.RP 9 license to be upgraded.
-
Step 9
Once the License is configured, you will get a message, ‘TallyPrime will access the license with serial number …. Select ‘Yes’ to activate.
-
Step 10
The list of companies appear, select the company you want to work on.
You will now be able to use TallyPrime for business transactions.
You can follow this process to update your Tally.ERP 9 license (with a valid TSS) to TallyPrime. You can also call your service provider and get the update done instead of following these steps.
In case you are having any trouble getting through this process, you can call us to get instant support.

